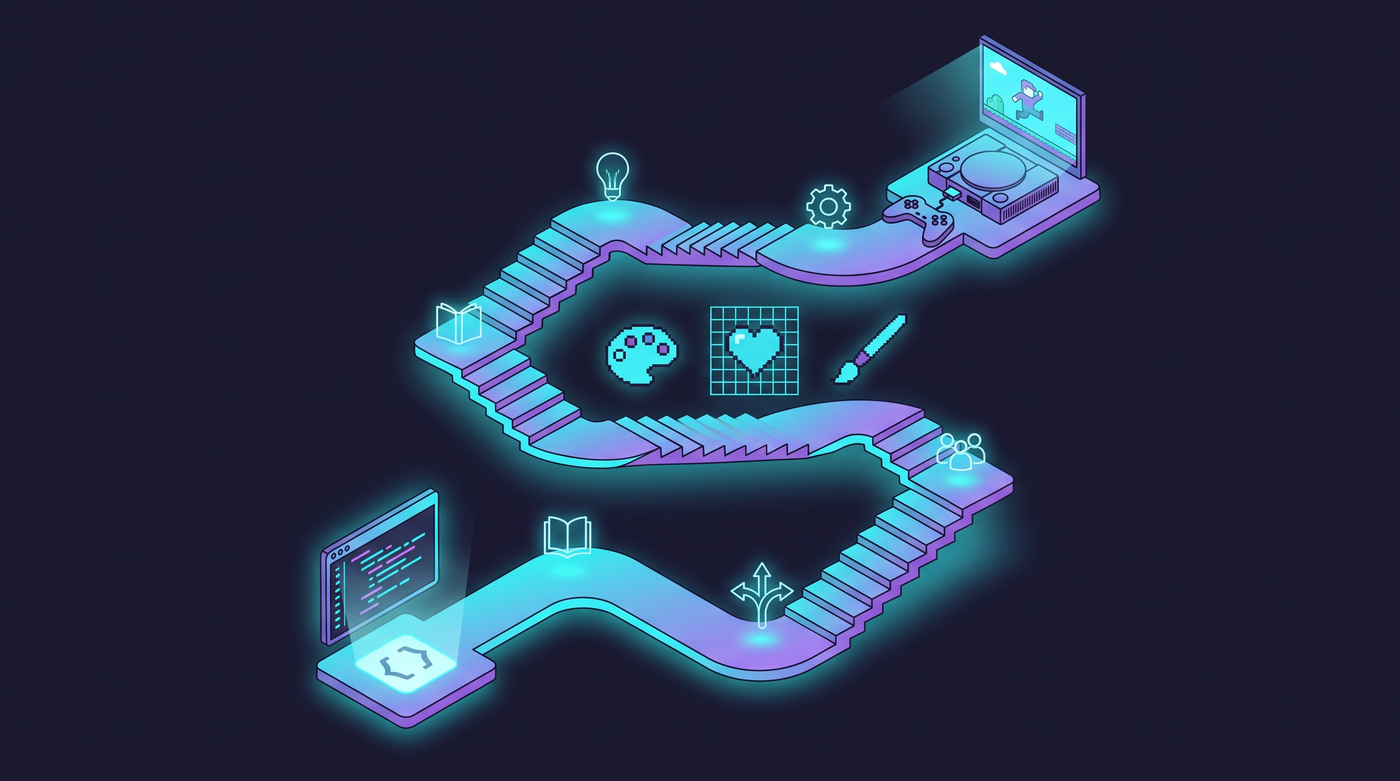
Why a structured path matters
Most programmers who try to learn art start the wrong way. They jump into making "real art" — detailed character sprites, complex environments, realistic lighting — and get discouraged when it doesn't look good. The skill gap between "colored box" and "professional game art" is enormous, and it's easy to get lost in the middle.
This path breaks the journey into stages. Each stage builds on the previous one and adds one specific skill. You don't need to complete every stage — stop at whatever level is right for your game. Most indie developers never need to go past Stage 4.
Each stage takes 1-4 weeks of daily practice (15-30 minutes per day). The exact timing depends on your background, how much you practice, and how quickly you pick up new concepts.
Stage 0: The default assets baseline
Before you learn any art skills, make sure you're getting the most out of what you already have. Most programmers underutilize their engine's built-in assets and tools.
At this stage, your game might use default cubes, stock sprites, or debug primitives. The goal isn't to make it look good — it's to make the gameplay work and establish that you have a game worth improving the art for.
- Get your core gameplay working with default assets only
- Learn what your engine provides out of the box
- Identify which assets are confusing or distracting to players
- Pick one tool to learn (start with the simplest that solves your biggest problem)
Stage 1: Readability first
The first real art skill is making sure everything in your game communicates clearly. Players should instantly understand what each thing is and whether it helps or harms them.
This stage is the most important one and the one most people skip. Readability is the foundation that all other art quality builds on. If your game has readable but ugly assets, it will still be playable. If it has beautiful but confusing assets, it won't be.
-
1
Shape and silhouette
Practice making simple shapes that read instantly. Use circles for friendly things, sharp shapes for danger, distinct outlines for each category of object.
-
2
Color coding
Assign consistent colors to each type of thing in your game. Player = blue, enemies = red, collectibles = yellow, hazards = purple. Stick with it.
-
3
Size hierarchy
Important things should be visibly bigger or bolder than unimportant things. Establish a visual hierarchy and apply it consistently.
Stage 2: Consistency and style
Once everything is readable, the next step is making it look like it belongs together. Consistency is more important than quality — a uniform "meh" look beats a mix of great and terrible assets every time.
This is where you establish what your game's visual identity is. You're not trying to make it look good yet — you're trying to make it look coherent. Pick a set of constraints and stick to them.
- Choose a limited color palette (5-8 colors) and use it everywhere
- Pick a resolution and style for all sprites (pixel art size, line thickness, amount of detail)
- Standardize how you shade, outline, and present every asset
- Create a style guide document for yourself — even a simple one
- Redo your worst assets first to bring everything to the same minimum bar
Stage 3: Polish with code
This is where programming skills become a genuine advantage. Instead of manually improving every asset, use code to make everything look better at once.
Shaders, post-processing, procedural animation, and particle effects multiply your art effort. One well-written shader can improve the look of every asset in your game. Good screen effects can hide a multitude of art sins.
- Add post-processing (bloom, vignette, color grading)
- Write or find shaders that flatter your art style
- Add simple animations using code (sine wave bob, rotation, scale pulses)
- Add particle effects for impacts, pickups, and environmental ambience
- Implement screen shake and hitstop to make everything feel weighty
This is where programmers can create results that artists can't match. A 2D artist working by hand might take hours to add polish to every asset. You can write one shader and instantly improve everything.
Stage 4: Adding detail deliberately
At this stage, you start adding actual visual detail to your assets. The key word is "deliberately" — don't just add detail everywhere. Add it where it matters most and where it serves a purpose.
Focus on the things players look at most: the player character, the main enemies, the UI, and any focal point moments. Background elements, environment props, and distant objects can stay simple.
- Pick 2-3 high-visibility assets to upgrade first
- Add just enough detail to make them read as intentional rather than placeholder
- Practice shading with 2-3 tones (base, light, shadow)
- Learn basic proportions for whatever you're drawing (humans, vehicles, animals, etc.)
- Iterate — make an asset, put it in the game, adjust, repeat
Stage 5: Developing a distinct look
This is the stage where your game stops looking like "programmer art" and starts looking like a deliberate, unique visual style. You're still working within constraints, but those constraints become a feature rather than a limitation.
Many successful indie games live at this stage. They don't have the polish of AAA art, but they have a strong, distinct identity that's instantly recognizable.
- Identify what's unique about your game's visuals and lean into it
- Develop signature elements — a particular shader, a specific color combo, a memorable character design
- Pay attention to composition and overall scene layout, not just individual assets
- Study games you admire and figure out what makes their art work (not copy, but understand)
Stage 6: Professional quality (optional)
This stage is the endpoint if you want to become genuinely good at art, not just good enough. Most indie developers never reach this stage, and that's fine — you can make successful games without professional-level art.
If you do want to go further, this is where you'd study traditional art fundamentals seriously: perspective, anatomy, lighting, color theory, composition. These are the same skills professional artists learn in art school.
- Study foundational art fundamentals for real — not just the game-specific shortcuts
- Practice observational drawing and painting
- Develop a deeper understanding of color and light
- Consider formal training or structured courses
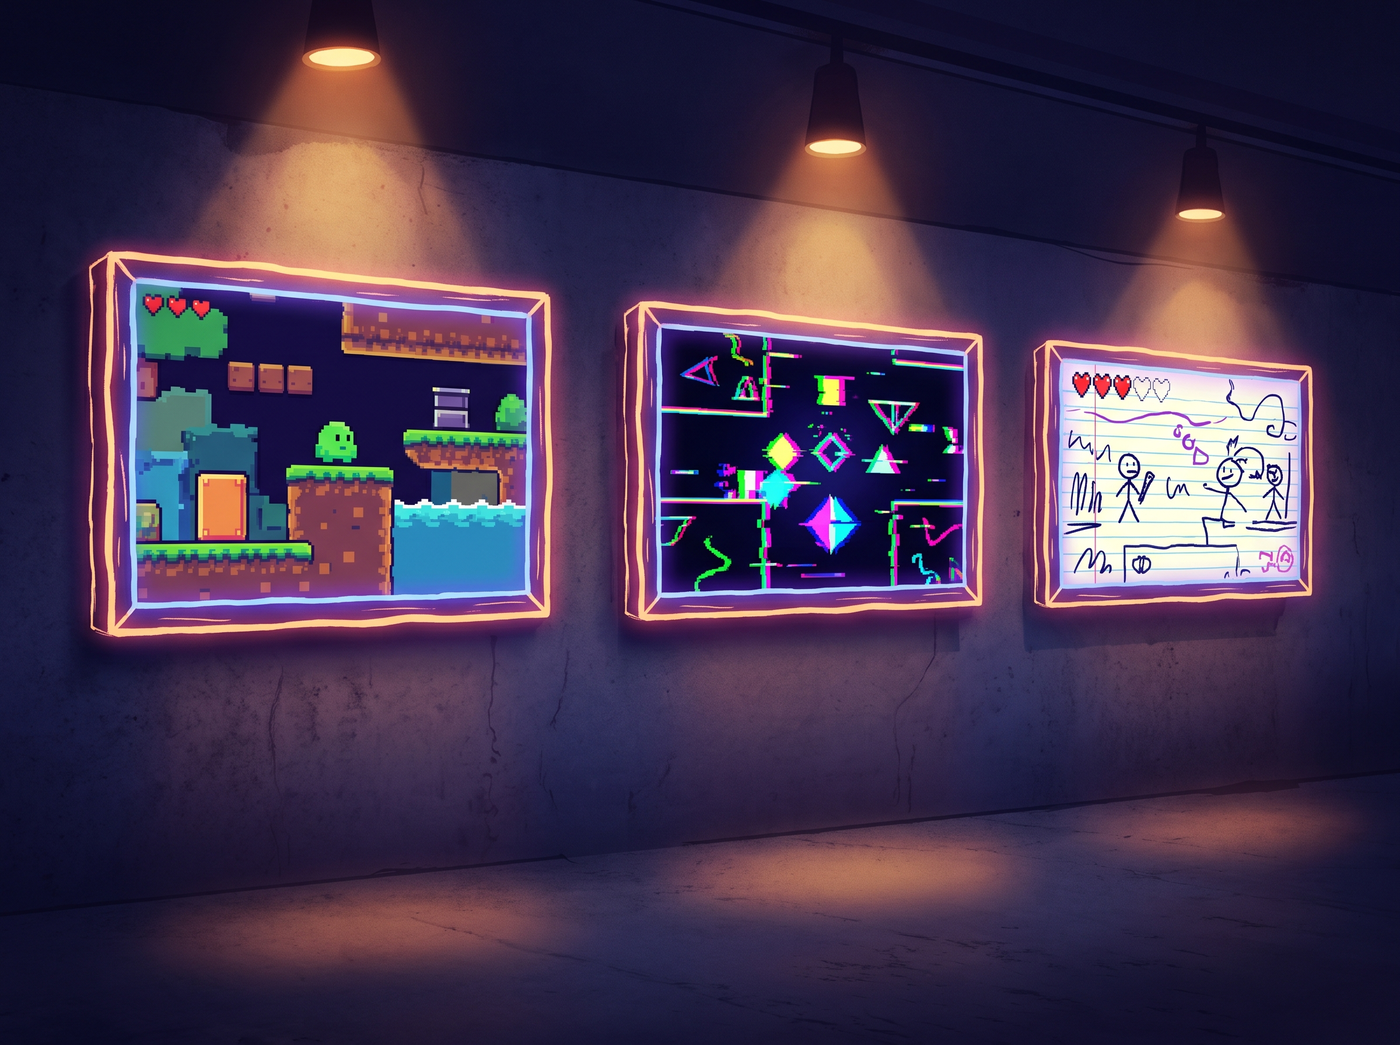
How to practice effectively
Knowing the path is easy. Walking it is harder. Here's how to actually make progress:
Daily micro-practice
Fifteen minutes of focused daily practice beats three hours on the weekend. Consistency builds skill faster than cramming. Set a timer, pick one specific thing to work on, and stop when the timer goes off.
Focus on one skill at a time
When you're at Stage 2, don't try to learn shading. When you're at Stage 3, don't worry about anatomy. Each stage has one primary skill. Work on that until you can do it reliably, then move to the next one.
Make small complete things
Don't spend a week on one detailed character sprite. Spend 15 minutes making one simple sprite, then make another one. Quantity builds quality faster than prolonged work on a single piece. You learn more from making ten bad sprites than from spending ten hours trying to make one good one.
Compare, don't despair
Look at your work from a month ago and compare it to what you make now. If you can see improvement, you're on the right track. Don't compare your work to professional artists — they've been doing this for years. Compare yourself to past-you.
Common pitfalls to avoid
- Tutorial hell. Watching tutorial after tutorial without making your own things. Practice > consumption.
- Tool hopping. Trying a new tool every week instead of mastering one. Stick with a tool for at least a month before switching.
- Perfection paralysis. Never finishing anything because it's not "good enough." Bad finished art beats good unfinished art.
- Skipping stages. Trying to draw detailed characters before you've mastered basic shapes. The stages are ordered for a reason.
- Comparing to professionals. You're not competing with professional artists. You're competing with "can't tell what anything is."
Most games ship around Stage 3 or 4. The point of this path is not to become an artist — it's to get your game's art to the point where it doesn't hold the game back. Once you're there, you can stop and focus on the rest of development.