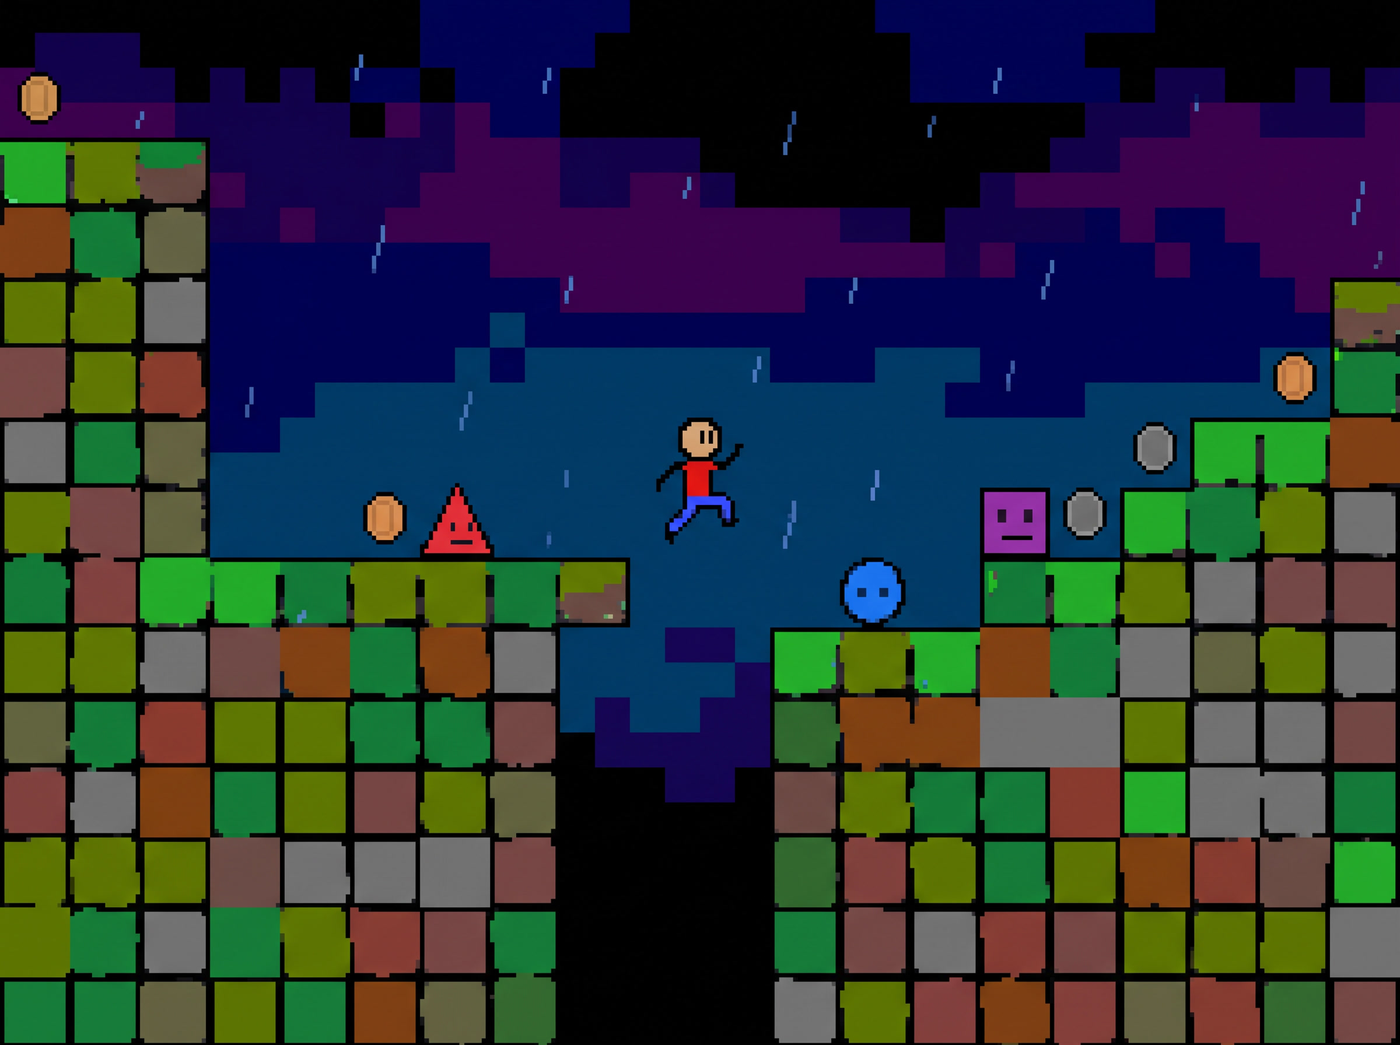
Why pixel art works for programmers
Pixel art is the most accessible art style for programmers for several reasons. The grid-based canvas feels natural if you're used to working with coordinates and arrays. The limited resolution means you're working with a manageable number of pixels — not an infinite canvas of infinite decisions.
Pixel art also has a lower barrier to "good enough" than most other art styles. Because of the low resolution, a few well-placed pixels can create a recognizable sprite. You don't need to learn perspective, anatomy, or complex shading to make something readable.
Choosing your resolution
The single most important decision when starting with pixel art is what size to work at. Smaller sizes are easier and faster but limit detail. Larger sizes allow more detail but take longer and require more skill.
| Sprite size | Use case | Difficulty |
|---|---|---|
| 8x8 | Tiny characters, icon packs, PICO-8 style games | Hard to fit detail, but very fast to make |
| 16x16 | Platformer characters, tilesets, classic NES style | Good balance of detail and speed — recommended start |
| 32x32 | More detailed characters, modern indie style | More work, but room for actual design |
| 64x64+ | High-detail pixel art, closer to illustration | Approaches general digital art difficulty |
For beginners, 16x16 is the sweet spot. It's big enough to make recognizable characters and detailed tiles, but small enough that you can finish a sprite in 15-30 minutes and iterate quickly.
Working with a limited palette
Color restriction is one of pixel art's greatest strengths. When you can only use a few colors, you're forced to make meaningful decisions about what each color does, and the result often looks more cohesive than art made with unlimited colors.
For programmer-art pixel graphics, aim for 5-16 colors total. That's enough to create depth and readability without the burden of managing a huge palette.
Palette structure
A good minimal palette has a clear role for each color:
- 1-2 darkest colors — outlines, shadows, deepest details
- 2-3 mid-tone colors — the base color of your object, plus one slightly darker and one slightly lighter
- 1-2 highlight colors — brightest points, used sparingly
- 1 accent color — for details like eyes, decorations, or points of interest
If you're making sprites for a game, share one palette across all your sprites. This ensures visual consistency and makes the whole game look like it belongs together.
Making your first sprite
Here's the simplest way to make a readable character sprite in 16x16 pixels:
-
1
Draw the silhouette
Start with one solid color and draw just the outline shape. Make sure you can tell what it is from the silhouette alone.
-
2
Add a base color
Fill in the main shape with one mid-tone color. Don't worry about shading yet.
-
3
Add shadow and highlight
Pick a light direction (top-left is standard). Add one shadow color on the opposite side and one highlight color on the light side.
-
4
Add key details
Eyes, mouth, buttons, whatever makes the sprite identifiable. Use as few pixels as possible.
-
5
Clean up the outline
Make sure the outline is consistent — same thickness all the way around, no stray pixels.
Animation basics
Animation is where pixel art really shines. Even a few frames of simple animation can make a sprite feel alive. And because of the small canvas size, each frame doesn't take long to draw.
Essential animations for any character
- Idle bob. A 2-frame animation where the character moves up and down by 1 pixel. This alone makes a character feel alive.
- Walk cycle. 4 frames is enough for a basic walk. Focus on getting the weight shift right — the body should move up and down, not just the legs.
- Jump / fall. Two poses: one for going up (arms up, legs tucked) and one for falling (arms spread, legs down).
- Attack. A 2-3 frame swing or thrust. Keep it simple and readable.
Instead of drawing every frame from scratch, duplicate your base sprite and modify it. Most animation frames are just small variations of the same shape. The fewer pixels you change between frames, the faster you work.
Tilesets and level art
A good tileset is worth its weight in gold. Once you have a working tileset, you can build entire levels quickly, and everything stays visually consistent.
For a programmer-art approach, keep tilesets small and modular:
- Start with a basic ground tile (top, middle, bottom variants)
- Add corner pieces for platform edges
- Include a few decoration tiles (grass tufts, cracks, dots)
- Make a background tile or gradient
- Add hazard tiles (spikes, lava, etc.) in a contrasting color
You can build a complete platformer tileset with as few as 10-15 tiles. Focus on readability and consistency over detail.
Tools for pixel art
See the full tools directory for a complete list, but the short version:
- Aseprite — the standard, paid, worth it if you do a lot of pixel art
- LibreSprite — free open-source alternative, nearly identical
- Piskel — browser-based, free, great for beginners and game jams
- GIMP — overkill for pure pixel art but useful for post-processing
Common mistakes to avoid
- Jaggies and uneven lines. Pixel art lines should be clean and consistent. A common beginner mistake is lines that thicken and thin randomly.
- Too many colors. New pixel artists often use more colors than they need. Try to make the same sprite with one fewer color and see if it still works.
- Anti-aliasing everything. A little AA goes a long way. Most of your sprite should be hard-edged, with anti-aliasing only on important curves.
- Noise and busy patterns. Small canvases need restraint. Dithering and texture patterns can make sprites look noisy and messy at small sizes.
- Neglecting the silhouette. Always check that your sprite reads as a solid shape. If the silhouette is bad, no amount of detail will fix it.
Procedural pixel art
Since you're a programmer, you have a superpower most pixel artists don't: you can generate pixels with code. Procedural pixel art is a whole field of its own, but even simple techniques can save time:
- Palette swapping. Use the same sprite with different palettes for variations — enemies with different colors, alternate skins, etc.
- Procedural generation. Generate terrain textures, patterns, or even simple sprites with algorithms.
- Animation tweening. Use code to interpolate between key frames for smooth animation at lower frame costs.
- Batch processing. Resize, recolor, or apply effects to whole folders of sprites with scripts.
Practice exercises
The best way to get better at pixel art is to make a lot of it. Try these daily challenges:
- 10-minute sprite. Give yourself 10 minutes to make a 16x16 character. Stop when the timer goes off.
- One-palette challenge. Make 5 different sprites using only one 8-color palette.
- Redraw challenge. Take a sprite you made earlier and redraw it with one fewer color.
- Animation loop. Make a 4-frame walk cycle for a character. Focus on weight and timing.
- Tileset speedrun. Make a complete 10-tile platformer tileset in under an hour.