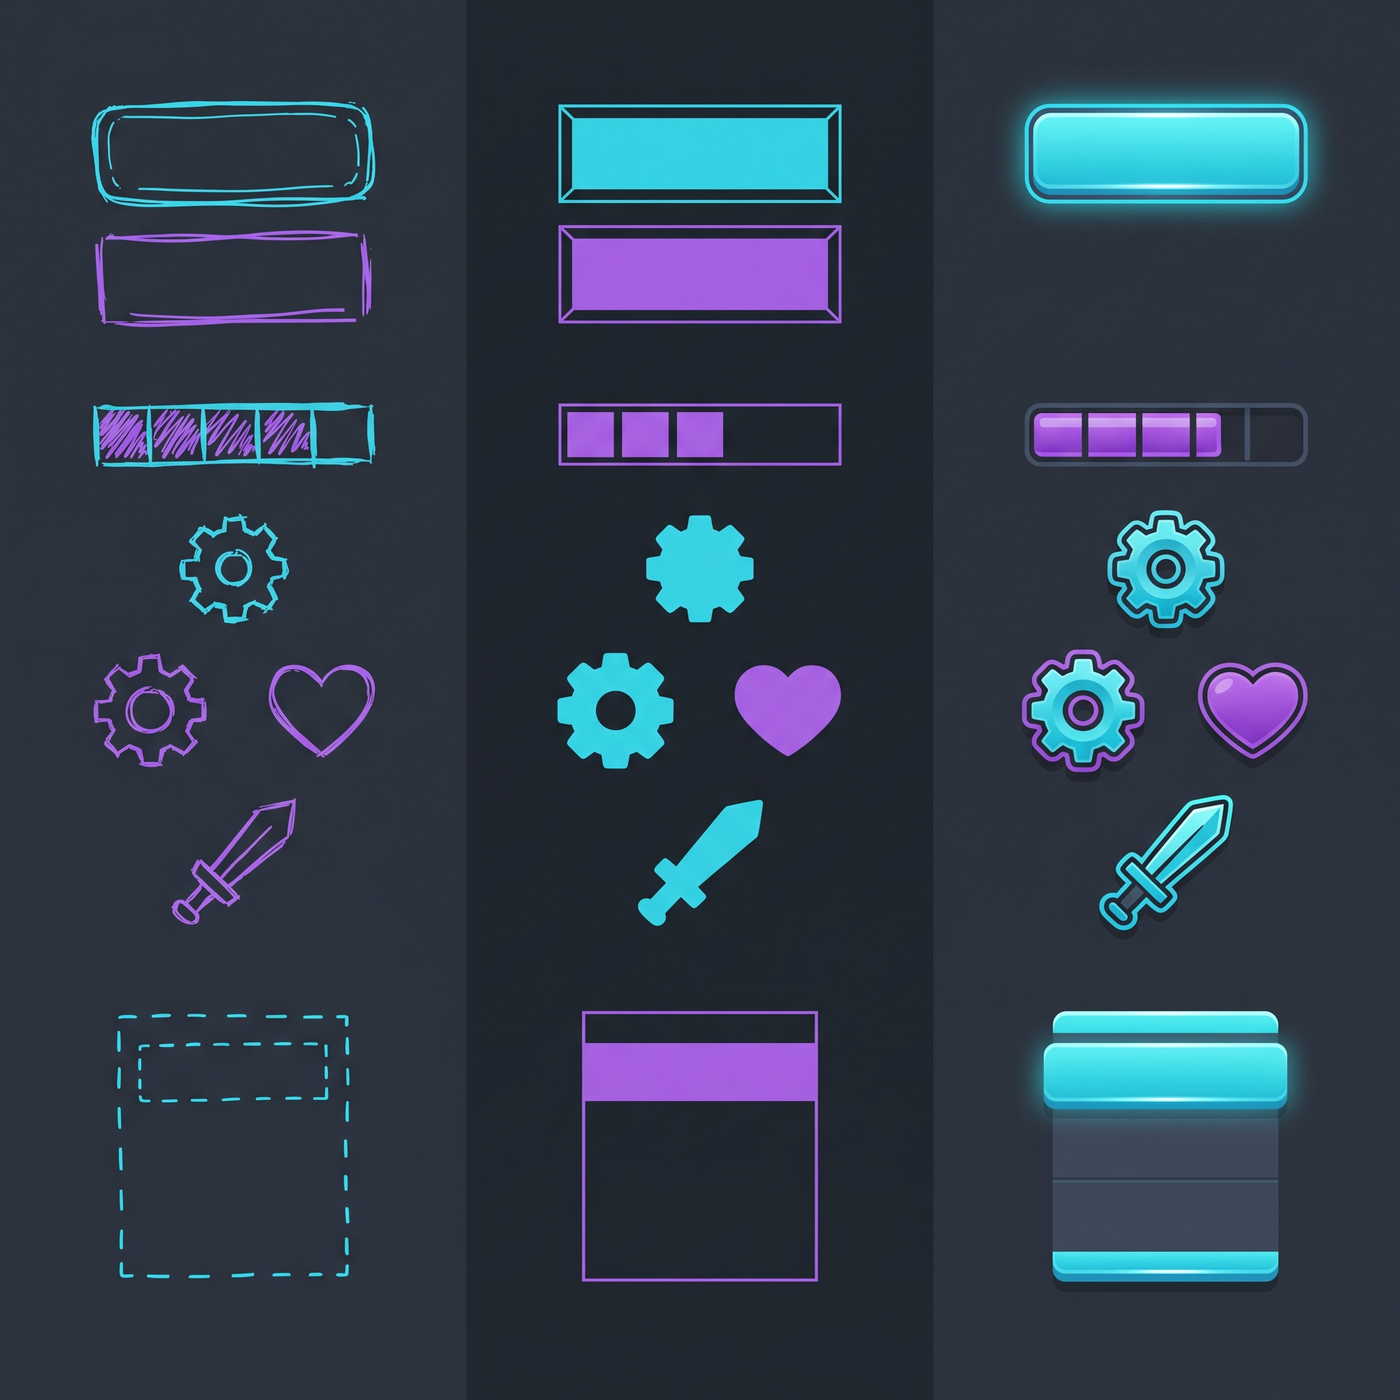
The programmer's advantage
Programmers approach art differently from artists, and that's not a bad thing. You're used to thinking in systems, parameters, and reusable components. Those skills translate directly to making art more efficiently — if you apply them to the right techniques.
The methods on this page are chosen specifically for people who think in code. They're systematic, repeatable, and leverage tools and principles you probably already understand.
1. Shape-first design
Every successful visual design starts with strong shapes. Before you worry about details, textures, or colors, get the silhouette right. A good silhouette reads instantly, even at tiny sizes or from a distance.
This is the single most important technique for programmers because it's binary: either the shape reads or it doesn't. You don't need artistic intuition to judge it. Just squint, step back, or scale it down and ask yourself if you can still tell what it is.
-
1
Start with the silhouette
Draw your asset as a solid shape with no internal details. If it doesn't work as a silhouette, it won't work with details either.
-
2
Use distinct shapes for different things
Players should be able to tell friend from foe, item from hazard, just by the shape. Circles feel safe, spikes feel dangerous, angular shapes feel aggressive.
-
3
Add details only when the shape works
Put in the work to get the outline right first. Every detail you add after that will land on a solid foundation.
2. Color theory for programmers
Color theory sounds like an art school subject, but the parts that matter for game development are fairly mechanical. You can treat it like a set of rules to apply rather than an intuitive skill to develop.
The practical color rules
- Limit your palette. Most great-looking games use surprisingly few colors. Start with 5-8 colors total and add more only when you have a specific reason.
- Value matters more than hue. Value means how light or dark something is. You can swap all the colors and a composition will still work if the values are right. Test by viewing everything in grayscale.
- One saturation level at a time. Mixing highly saturated colors with muted ones creates visual tension. Use this deliberately — don't just pick random colors from the full spectrum.
- Use color coding consistently. Pick a color for each type of thing in your game (enemies, collectibles, hazards, the player) and stick with it across every asset.
3. Readability over beauty
Game art isn't a painting on a wall. It's a user interface element that conveys information. The most important job of every asset in your game is to communicate what it is and what it does, instantly and unambiguously.
This principle is what makes programmer art legitimate. You don't need beautifully rendered assets. You need assets that players can parse at a glance while they're focused on gameplay.
Readability checklist
-
✓
Silhouette clarity
Can you identify the asset from its outline alone?
-
✓
Color coding
Does each category of thing have a consistent color?
-
✓
Size hierarchy
Are important things visibly larger or bolder than unimportant things?
-
✓
Contrast with background
Does the asset stand out clearly against the environment?
-
✓
Motion identity
Does each thing move in a distinctive, recognizable way?
4. Procedural generation
This is where your programming skills become a superpower. Instead of manually creating every asset, write code that generates variations for you. Procedural art isn't just for terrain — you can generate textures, sprites, animations, and even sound effects.
Ways to use procedural generation
- Texture generation — use noise functions to create varied surface textures without drawing them by hand
- Sprite variation — take a base sprite and apply random offsets, color shifts, or rotations to create variety
- Level decoration — scatter props, foliage, or background elements algorithmically
- Animation — use math functions (sine waves, noise) to drive simple animations without keyframing
- UI elements — generate buttons, panels, and frames with code so they're consistent and resizable
5. Shader art
Shaders are the most underutilized tool in the programmer-art toolkit. A good shader can make simple geometry look dramatically better, and you can write them with code skills you already have.
You don't need to write complex effects. Start with simple, high-impact shaders that make your default materials look intentional:
- Outline / toon shaders — instantly give your game a defined style and make silhouettes pop
- Simple color ramp shaders — replace realistic lighting with stepped colors for a stylized look
- Vertex displacement — add movement to otherwise static objects (grass swaying, water rippling)
- Screen effects — vignette, chromatic aberration, film grain — all easy to implement and surprisingly effective
- Fog and atmosphere — distance fog hides detail limitations and adds mood
6. Primitive assembly
For 3D games, you can build surprisingly good-looking assets by combining basic primitives — cubes, spheres, cylinders, and cones. This technique is sometimes called "kitbashing" and it's used by professional artists too.
The key is to be deliberate about it. Don't just drop default cubes into the scene. Think of each primitive as a design element:
- Use different sizes and proportions to create visual hierarchy
- Assign distinct colors to each type of object
- Add bevels or slight rounding where pieces meet to avoid the "all sharp edges" look
- Use negative space — the gaps between shapes are as important as the shapes themselves
- Repeat patterns consistently to create the illusion of a designed world
7. Animation as design
Animation is one of the most powerful tools for making simple assets feel alive — and it's often easier for programmers to grasp than drawing. Good motion sells an asset even if the static visuals are basic.
You don't need full keyframe animation. A few simple tricks go a long way:
- Bob and sway — give enemies a gentle vertical or rotational motion using sine waves
- Squash and stretch — even on simple shapes, this basic animation principle adds personality
- Anticipation and follow-through — make actions feel weighty by adding a brief wind-up and a brief settle
- Particle effects — a burst of simple particles on impact or pickup adds juice with minimal effort
- Screen shake — almost zero art effort, massive feedback improvement
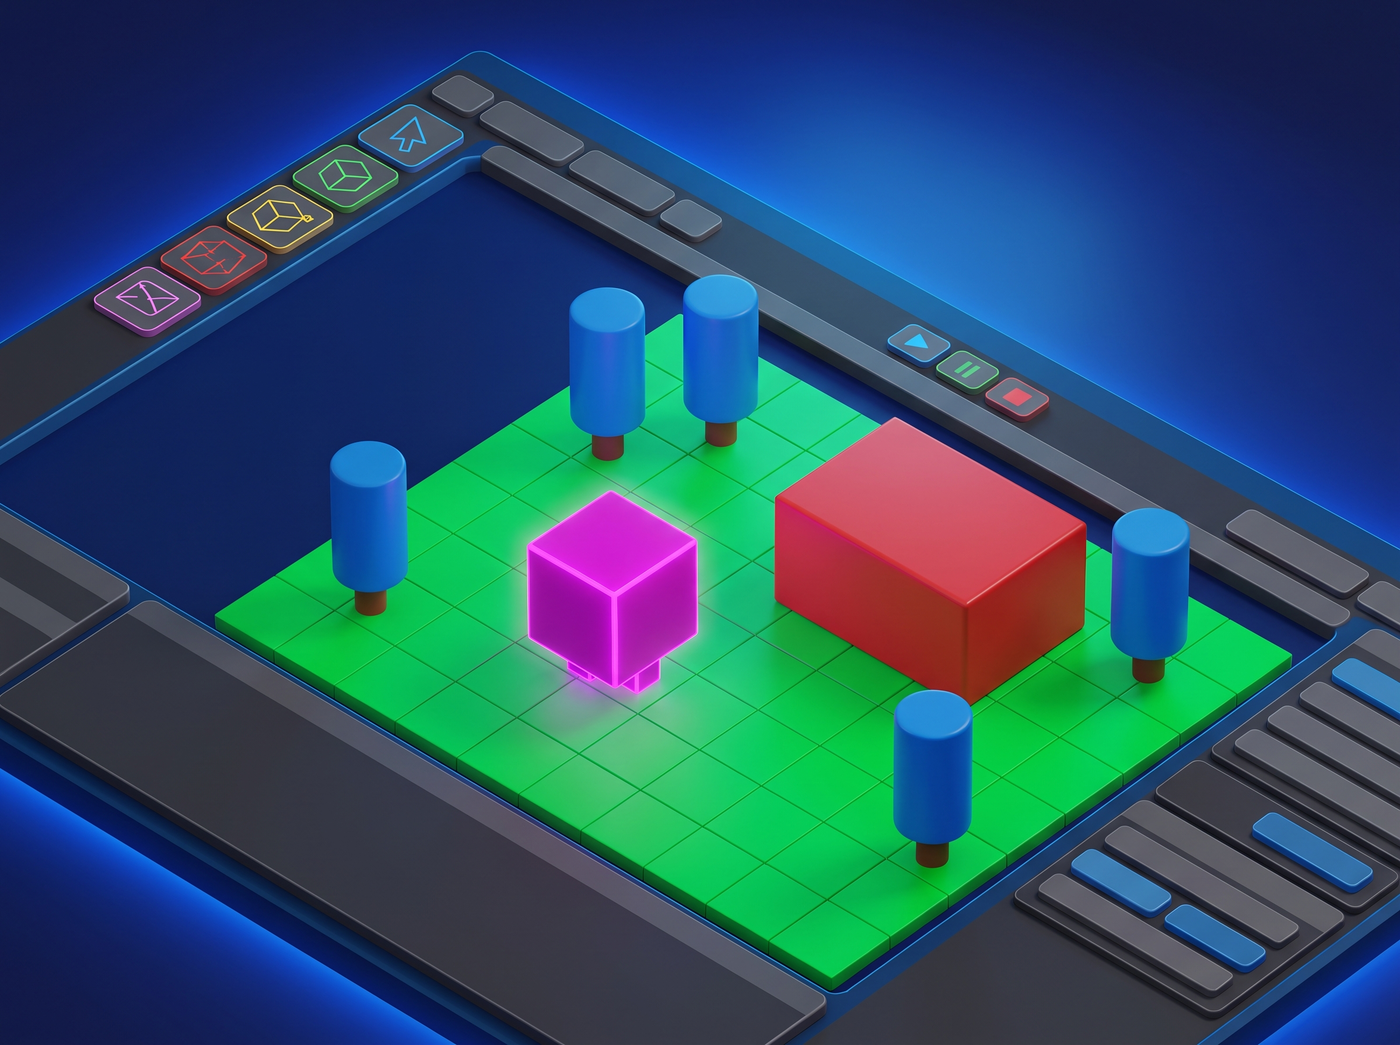
8. Iterative refinement
This is the technique that separates "decent programmer art" from "that looks intentionally designed." You don't need to get it right on the first pass. You just need a systematic way to improve what you made.
-
1
Make the ugliest version that works
Get something — anything — into the game as fast as possible. A default cube with a text label is fine for this stage.
-
2
Identify the biggest problem
Look at it and ask: what's the single worst thing about this? Pick one issue to fix next.
-
3
Fix just that one thing
Don't redesign the whole thing. Make one targeted improvement. Replace the default material. Fix the proportions. Add a color. Adjust the size.
-
4
Repeat until it's good enough
Keep iterating one problem at a time. Stop when the asset no longer distracts from the gameplay.
What to skip
Not every art technique is worth your time as a programmer. These are the areas where you get diminishing returns fast:
- Realistic rendering — photorealism is a full-time job. Stick to stylized approaches.
- Detailed character faces — faces are notoriously hard to get right. Use masks, helmets, or stick figures instead.
- Hand-painted textures — this requires both drawing skill and time. Use procedural or solid-color approaches instead.
- Complex perspective — isometric, top-down, and side views are much easier to work with than dynamic 3D perspective.
Practice plan
Like any skill, art gets better with practice. The trick is to practice effectively — not just repeating the same mistakes.
Try this 15-minute daily practice: make one simple asset (a character, a tree, a weapon) from start to finish. Each day, focus on improving one specific thing: day 1 focus on silhouette, day 2 focus on color palette, day 3 focus on animation. Do this for two weeks and you'll see a dramatic difference.
Ready to put these techniques into practice? Check out the tools directory to find software that fits your workflow, or follow the structured learning path for a recommended order.